How Can You Make An Ice Pack Yourself?
Gel compresses can be purchased at any drug store. However, sometimes they can cost you a lot of money. At Healthier Living we want to help you save as much money as possible. To do that, today we’re sharing two great ideas that will make making your own ice pack super easy.
How can you make an ice pack that is flexible yourself?
There are countless ways to create these useful articles, but the “flexible” part is the real challenge. You can do this by using rubbing alcohol, which prevents the water in the plastic from freezing.
The combination of water and alcohol reaches a temperature as cold as ice, but without crystallizing.
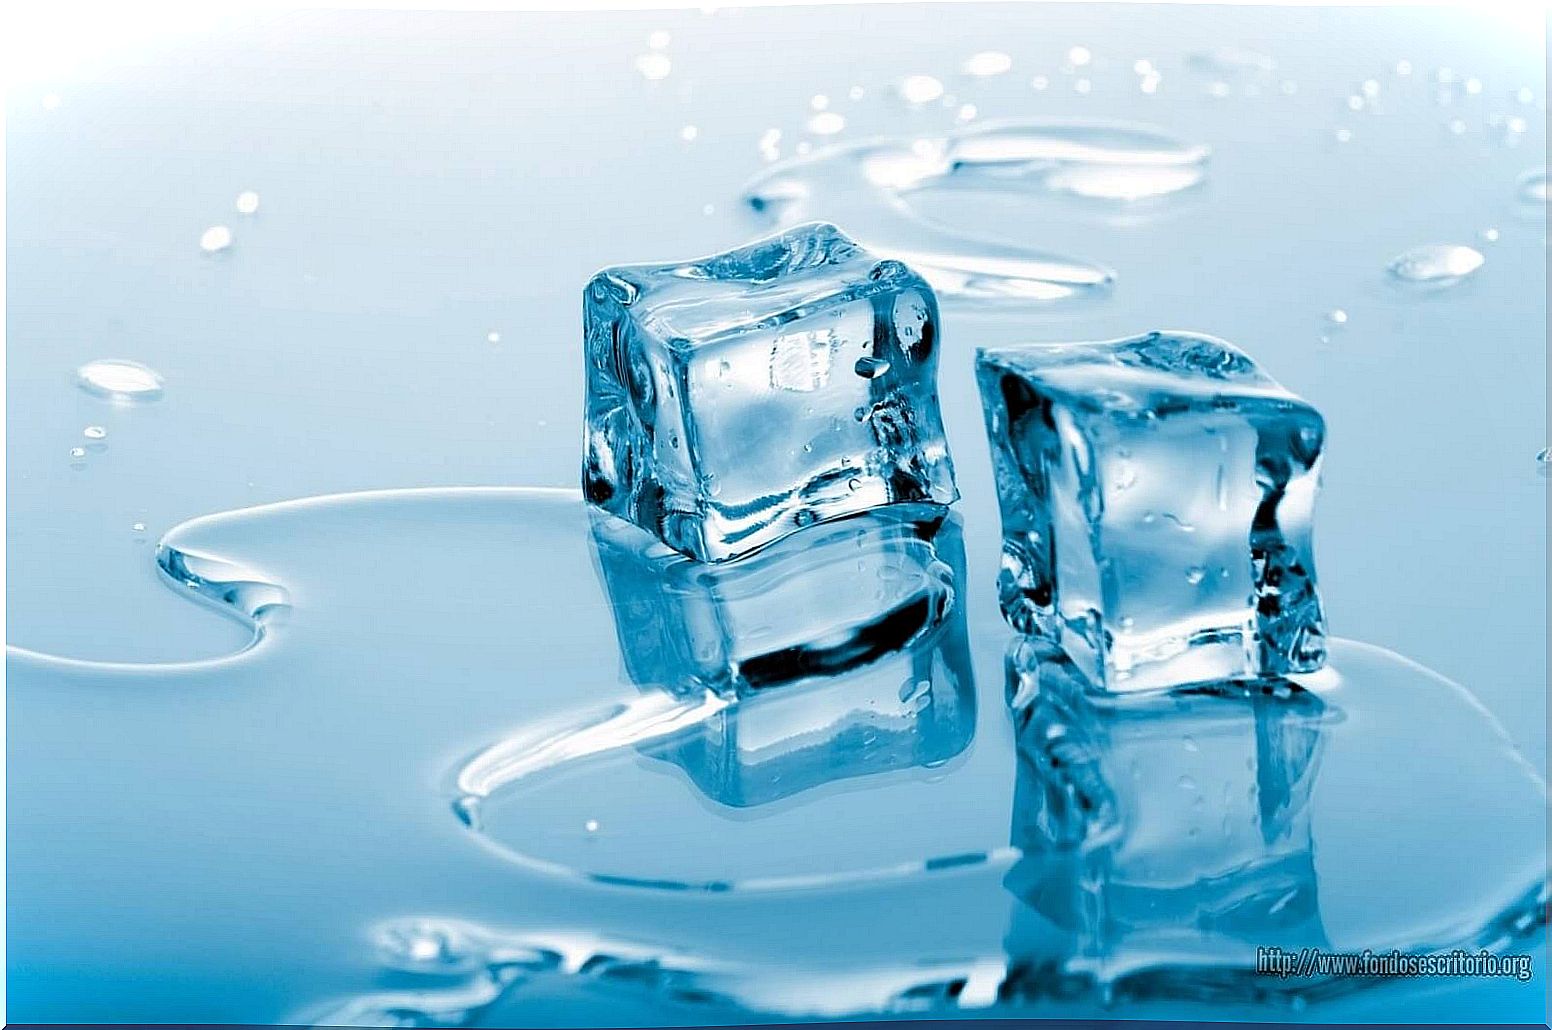
This gives you an ice pack that you can reuse as many times as you want, unlike ice cubes – which simply melt.
If the bag “melts” or gets hot, all you need to do to recover it is put it back in the freezer.
We will show you two different ways that making your own ice pack is very easy.
1. Use rubbing alcohol
What do you need?
- 250 milliliters of rubbing alcohol – remember that the higher the alcohol content, the softer the compress will be.
- 2 glasses of water (500 milliliters)
- 2 ziplock or sealable bags
- Food coloring (optional)
What should you do?
- First, pour the water and rubbing alcohol into one of the sachets and mix well.
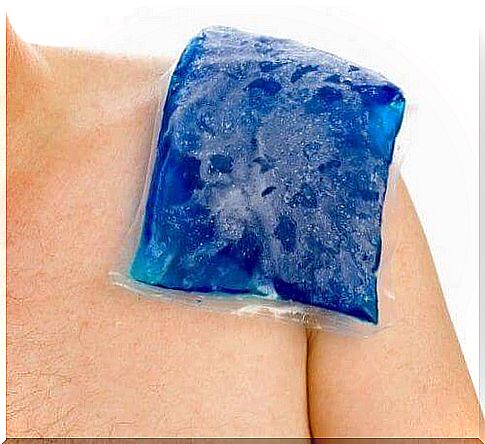
- If you want to add a little food coloring, now is the time. You can give it any color you want. However, if you want it to resemble the commercial variants, all you need to do is add two drops of blue food coloring.
- Close the bag while removing as much air as possible. Then put the whole thing in the second bag.
- Put it in the freezer for at least 12 hours before first use.
As you can see this is very easy and affordable. If you don’t have any rubbing alcohol on hand, there’s another easy option for you.
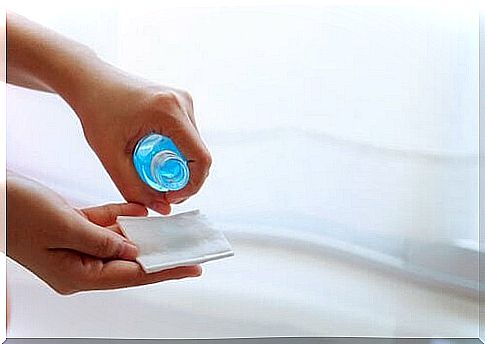
2. Use detergent
What do you need?
- dishwashing liquid
- 2 ziplock or sealable bags
What should you do?
- Pour a generous amount of dishwashing liquid (as much as a small bottle) into one of the sachets.
- Close the bag tightly, making sure to remove as much air as possible.
- Place this bag inside the other bag to prevent leakage.
- Keep it in the freezer for at least six hours before using it.
Making your own ice pack has never been so easy!
Why is a cold gel compress necessary?
Cold compresses are used for a wide variety of injuries because they reduce the pain of cuts and bruises.
These types of compresses can be very helpful if you have muscle aches or wounds (that have bled) as they can speed up the recovery process from any injury.
- They prevent bruising in the area by temporarily narrowing the blood vessels and preventing the collection of blood beneath the surface.
- The coldness of ice can freeze the skin and it can sometimes just be annoying because of the water that is created when the ice melts. You can solve these problems by using cold gel compresses.
- They are reusable, so you can freeze them and use them whenever you want. They are always ready, because you keep them in the freezer.
- They are very comfortable as they fit every part of the body. Whether you have an injury to your knee, neck or wrist, an ice pack will form around it.
We recommend that you use these compresses with care. While it may sound silly, use a thin cloth to protect your skin to avoid direct contact with the ice pack to prevent frostbite from the cold.