How To Remove Scratches In The Floor
Scratches can disrupt your peace of mind if you want to keep your home spotless. However, there is no reason to overreact. You can remove scratches in the floor by following these steps. See it with your own eyes!
Scratches in the floor tend to multiply over time. Some are caused by specific events, such as moving furniture, while others occur without us even realizing it. When? When you move a chair, when pets come to your home or even when a pebble gets stuck under your shoe.
When one notices them, many people think that their floors are permanently destroyed and that nothing can solve this ugly detail. Don’t worry though, we’ll show you some easy ways to remove scratches in the floor.
5 ways to remove scratches in the floor
1. Shallow scratches on a hardwood floor
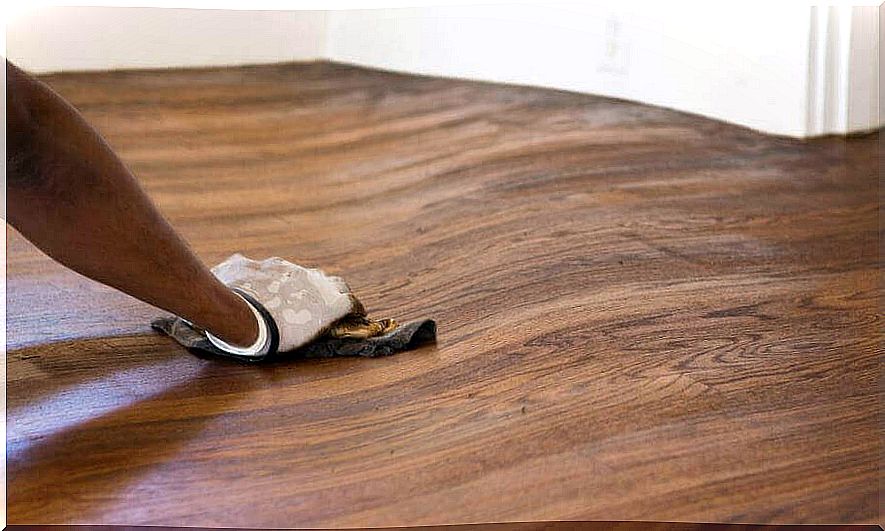
Hardwood or parquet floors, once installed, are good candidates for scratches. To remove superficial scratches in the floor, you need a furniture marker in the same color as your floor. You can buy them at most hardware stores. Once you have it, follow the steps below:
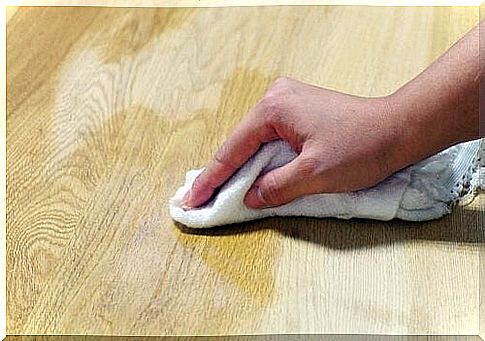
- Remove dust and dirt by cleaning the area of the scratch with a soft damp cloth.
- Test the marker in a place where it is not immediately visible, so that you can check whether it is the correct color.
- Color the scratch with the tip of the marker until it is the same color as the rest of the floor.
2. Shallow scratches on laminate floors
Laminate floors are a cheaper alternative to wooden floors and can scratch easily. That’s why it’s important to have a strategy to address these shortcomings. That’s where this solution comes in:
- After the area with the scratch has been thoroughly cleaned, use a wax bar to fill it. These wax bars usually come with a floor repair kit.
- Clean off any excess wax and smooth the area with a damp cloth.
- Let dry for 24 hours.
- Take some wood putty (also included in the repair kit) and fill the scratch to level with the floor.
- Clean off excess putty with a cloth or rag.
3. Deep Scratches in a Hardwood Floor
These cases are a little more serious. It is still possible to at least partially improve the situation. To do that, you’ll need wood filler in the same color as your floor. Follow these steps:
- Clean the damaged area with a damp cloth. Rinse and repeat the process to clean it completely.
- If your floor has an extra layer of polyurethane or varnish, wipe the area with a solvent to remove it. Then wipe the area again with the damp cloth and let it dry.
- Apply a little wood filler with your index finger and spread it over the damaged area. Don’t worry if you’ve used too much, you can remove the excess later.
- Let it dry for at least a day.
If you don’t feel like using this method or if you’re afraid of ruining your floor, you can always hire a professional to do it for you. Don’t worry though, the procedure is simple.
4. Removing Scratches in Granite
Granite floors are a hallmark of older homes. These floors, when properly installed and maintained, will add an undeniable touch of beauty to any atmosphere.
However, their resistance and durability do not make it immune to scratches. They can be damaged by moving furniture or by heavy objects dropped on them. Unfortunately, for these cases you have to hire a professional.
In contrast, shallow scratches or stains, which are common with these floors, can be removed. If you can relate to this problem, we recommend the following steps:
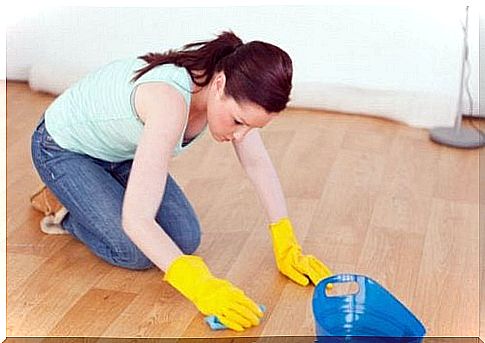
- As always, clean the damaged area with a wet cloth to remove any dirt. Let it dry.
- Apply polishing paste to the scratch. Follow the instructions on the paste package.
- Polish the scratch with fine steel wool. Start very gently to avoid damaging the area further and keep doing this for a few minutes.
- Test the granite seal after polishing. If you drop a few drops on the surface and see that they have spread after a few minutes, it’s time to reapply the sealer to the granite.
Maintaining beautiful floors is hard work, as any incident can damage them. Still, it’s something you can do yourself using these easy methods to remove scratches from your floors, regardless of what they’re made of.